
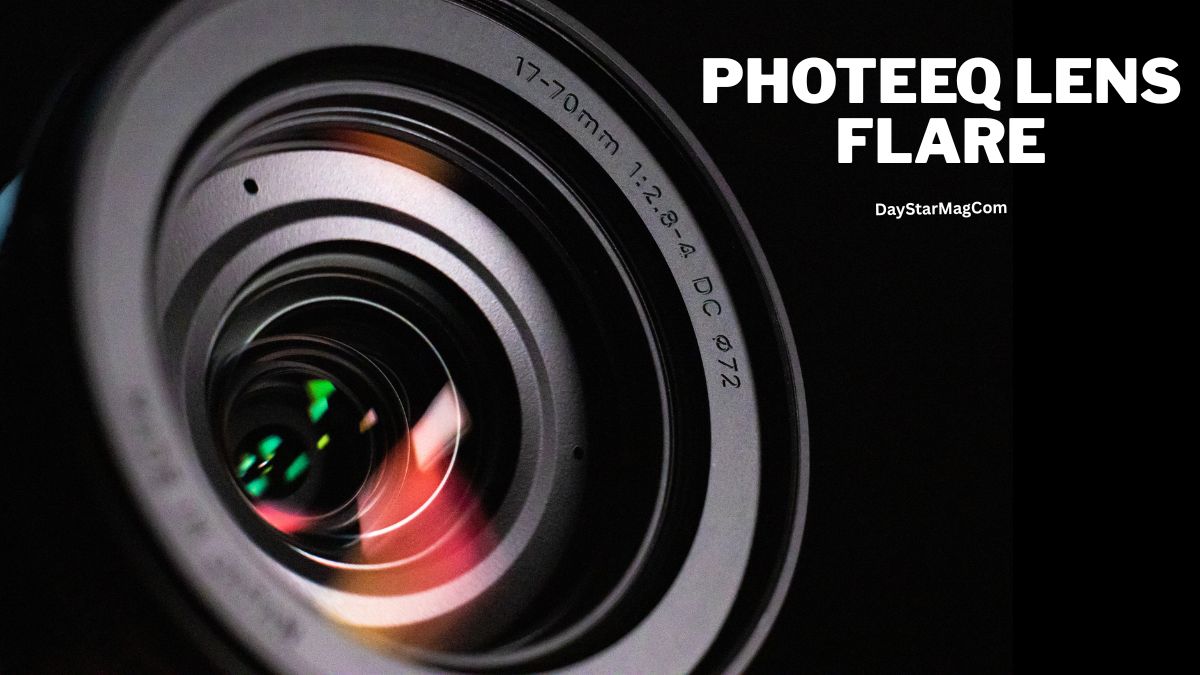
Lens flare has become one of the most captivating visual elements in modern photography and digital editing. Whether you’re trying to create a dreamy sunset portrait, an intense cinematic highlight, or a soft atmospheric glow, lens flares add emotion and depth that standard lighting can’t replicate.
Among the tools photographers search for, the term “Photeeq Lens Flare” has gained traction. Creative editors want to know what it is, how to use it, and whether it genuinely elevates photos beyond ordinary filter packs.
This guide breaks everything down in a natural, easy flow—no robotic tone, no repetitive filler—just straight practical insights. Let’s explore Photeeq Lens Flare from its core purpose to real use cases, features, and expert tips.
What Is Photeeq Lens Flare?
Photeeq Lens Flare typically refers to lens flare effects associated with the Photeeq editing style or digital enhancement packs. While not a dedicated standalone app, the term is widely used among creators to describe:
- Soft, natural-looking flare overlays
- Cinematic digital flare effects
- Warm golden-hour glow enhancements
- Artistic flare textures added during post-production
In simple words, Photeeq Lens Flare is a photo enhancement approach that applies lens flare overlays to create:
- Atmosphere
- Warmth
- Drama
- Depth
- Mood
Photographers use it to simulate natural light interactions that would normally occur when sunlight enters the camera lens directly.
Why Photographers Love Using Lens Flares
Lens flares aren’t new; they’ve been around since the film era. But the Photeeq lens flare style takes them to another level by focusing on realism, smooth blending, and visually pleasing tones.
Here’s why users love it:
Adds emotion
Lens flares instantly create a cinematic mood—especially for portraits and travel shots.
Enhances natural lighting
Even when shooting on cloudy days, flare overlays can recreate the illusion of sunbeams.
Softens harsh shadows
A well-placed flare reduces contrast and creates a dreamy, airy look.
Perfect for social media aesthetics
Instagram, Pinterest, and creative photography communities adore warm flare-based styles.
Flexible across editing software
Photeeq-style flares can be used on:
- Lightroom
- Photoshop
- Mobile apps
- Online editors
Understanding Lens Flare in Photography
To get the most from the Photeeq Lens Flare style, it helps to understand what lens flare actually is.
Lens flare usually happens when:
- Light enters the camera lens at a sharp angle
- A bright source hits multiple lens elements
- The light scatters and creates glowing artifacts
The result?
Beautiful circles, streaks, or glowing haze.
But not all flare types are the same.
Types of Lens Flare Used in Photeeq Editing
A good Photeeq-style flare pack usually includes several categories of flare.
1. Circular Orbs
These are classic flare dots that appear when light bounces inside the lens. They look great behind a subject.
2. Horizontal Streak Flares
Popular in cinematic filmmaking—think dramatic sun streaks or sci-fi intensity.
3. Haze or Glow Flares
These soften the whole image. Ideal for portraits and weddings.
4. Sunburst Flares
Sharp, bright rays that make sunsets explode with light.
5. Vintage Film Flares
Inspired by old cameras, giving a nostalgic photo feel.
Each type adds a different mood, so the photographer chooses based on the scene.
How to Use Photeeq Lens Flare Effectively
Using Photeeq Lens Flare isn’t just about dragging a flare onto your photo. The magic lies in technique.
Let’s break it down.
1. Match the Flare Direction to the Light Source
Nothing looks more unnatural than a flare coming from the wrong direction.
Ask yourself:
- Where is the sun or light source?
- Is it left? right? above? behind the subject?
Place the flare accordingly.
2. Use Low Opacity for Natural Appearance
Professional photographers always adjust flare opacity.
Recommended range:
- 15% to 40% for soft natural flare
- 50% to 70% for dramatic flare scenes
Avoid 100% unless you’re intentionally going for stylized effects.
3. Blend Modes Matter
In Photoshop or similar programs, try:
- Screen blend mode
- Lighten blend mode
- Add blend mode
These create seamless, glowing results.
4. Add Warmth for Realistic Light
Real sunlight is warm.
Flare should match that warmth.
A quick tint toward:
- yellow
- orange
- golden
…makes it look natural.
5. Don’t Overdo It
A small flare can transform a photo.
A massive flare can ruin it.
Remember:
Flare is seasoning, not the whole meal.
Best Situations to Apply Photeeq Lens Flare
Based on professional editing experience, these shooting conditions work perfectly with flare overlays.
1. Golden Hour Portraits
The warm glow enhances:
- Hair light
- Skin tone
- Background ambiance
It adds softness and romance.
2. Travel Photography
Sunlit city streets, beach scenes, mountain peaks—flare brings them to life.
3. Backlit Photos
If sunlight is behind the subject, flare enhances the drama beautifully.
4. Nature & Outdoor Photography
Trees, fields, and water reflections gain depth when flare is added tastefully.
5. Wedding Photography
Subtle haze and glow create dreamy, emotional scenes.
How to Create a Photeeq Lens Flare Look on Mobile
You don’t need professional software to achieve this effect. Modern apps allow beginners to create flare magic effortlessly.
Recommended Apps
- Lightroom Mobile
- Snapseed
- PicsArt
- VSCO
- Afterlight
- Mobile flare overlay packs
Quick Steps (Beginner Friendly)
- Import your image.
- Add a lens flare overlay.
- Adjust size and angle.
- Lower opacity to blend naturally.
- Warm up the tones with a color filter.
- Export at high resolution.
That’s it—simple, beginner-friendly editing.
Editing Mistakes to Avoid With Photeeq Lens Flare
Even great photographers make mistakes with flare. Here are the biggest ones:
Mistake 1: Flare placed without a light source
Always make flare match the lighting direction.
Mistake 2: Flaring over the subject’s face
Unless intentional, it reduces clarity and ruins focus.
Mistake 3: Over-saturation
Flare is already bright—don’t push the colors too far.
Mistake 4: Flare too sharp
Soft edges look more realistic.
Mistake 5: Using the same flare on every photo
Variety prevents your editing style from looking “template-driven.”
Why the Photeeq Style Works So Well in Modern Photography
The reason Photeeq Lens Flare is trending is simple—it matches what viewers love today.
Warm tones
Soft backgrounds
Natural sunlight simulation
Cinematic glow
Emotion-driven visuals
Whether for social media, portfolios, or commercial shoots, flare adds artistic identity.
Photeeq Lens Flare vs. Real Lens Flare
Here’s a simple comparison:
| Feature | Real Lens Flare | Photeeq Lens Flare |
|---|---|---|
| Control level | Low | High |
| Time required | Instant (during shooting) | Post-edit |
| Flexibility | Limited by angle | Unlimited |
| Style variations | Camera-dependent | Endless |
| Accuracy | Authentic | Artistically enhanced |
Both have their strengths, but digital Photeeq-style flare gives editors complete artistic control.
Final Thoughts: Why Photeeq Lens Flare Is Worth Using
Photeeq Lens Flare has become a favorite among content creators because it blends:
- practicality
- artistry
- mood
- storytelling
It gives photographers—even beginners—the power to transform ordinary photos into cinematic masterpieces.
With the right technique, subtle placement, and good lighting sense, anyone can create images that feel warm, nostalgic, and professionally crafted.
Common Questions About Photeeq Lens Flare
Below are naturally written answers for SEO while remaining helpful and authentic to reader intent.
1. What does Photeeq Lens Flare do?
Photeeq Lens Flare enhances photos by adding light streaks, glow effects, and sun-style reflections. It makes photos feel more cinematic, emotional, and atmospheric.
2. Is Photeeq Lens Flare a real app?
Not exactly. It refers more to a style or editing approach rather than a single app. Many editors replicate the Photeeq look using overlays, presets, or mobile tools.
3. Can beginners use Photeeq Lens Flare effects?
Absolutely. Even beginners can drag-and-drop flare overlays onto their images or apply flare presets in mobile apps. No advanced editing knowledge is required.
4. Does lens flare ruin image quality?
Only when used incorrectly.
Overusing flare can:
- Reduce contrast
- Obscure details
- Distract from the subject
But when applied subtly, it enhances photos beautifully.
5. Which types of photos look best with Photeeq Lens Flare?
It works extremely well with:
- Portraits
- Outdoor scenes
- Travel images
- Nature photography
- Street photos during golden hour
Anything involving natural light benefits from added flare warmth.
Key Takeaways
- Photeeq Lens Flare enhances photos with cinematic glow and warm light effects.
- Works beautifully for portraits, travel, weddings, and nature photography.
- Easy to use on both desktop and mobile apps.
- Most effective when matched with natural light direction.
- Subtlety is key—small flares create the strongest impact.